Dollar Tree Pantry Organization – Budget Friendly Pantry Makeover!
Ready to get your pantry organized without breaking the bank? Dollar Tree to the rescue! With just a few bucks and some creative thinking, you can turn your cluttered, disorganized pantry into an inviting space that makes it easier than ever to meal-plan and find ingredients with minimal fuss.
Dollar Tree Pantry Makeover
There is a helpful step-by-step process you can use to organize your pantry on the cheap which I’ve outlined for you below – but I figured you’d want to see some results first!
After the holidays, my pantry was a hot mess. Think lots of random items shoved in that had accumulated over the year. Plus, as you can see, I don’t even have a “real” pantry in my house, just this little cabinet that we use. An organized space is so important to be able to find things and not have it look anxiety-inducing. Here was the “before” shot:

Off to Dollar Tree I went, stocking up on helpful plastic containers for packaged snacks and glass canisters for certain foods that we usually have in bulk. I had some extra mason jars on hand at home that I didn’t have to actually purchase at Dollar Tree, but they do sell them there too if you don’t have those on hand (though sometimes, Target or other stores are cheaper if you’re buying a bulk pack).
Here’s the financial breakdown, and I’ll include the mason jars at the Dollar Tree price for the purposes of including a full picture of cost:
- One set of two rectangular plastic containers = $1.25
- One set of two square plastic containers = $1.25
- Four medium glass canisters = $5
- Two large glass canisters = $2.50
- Four mason jars = $5
Bringing the total cost for the project to just $15.
From there, it was organizing time. Here were the big changes I made:
Removed everything from the pantry. I took everything out of the pantry first, which helped me purge anything that was too far expired, give the shelves a good wipe-down before reorganizing. Always nice to start with a clean slate. From there, I grouped like with like to help with figuring out the best uses of the pantry organization products from Dollar Tree, as well as how to put things back into the cabinet.
Used the plastic bins for single-serve snacks, which included those we had on hand and some that were put into zip top bags. This way, my kiddo (or I) can quickly see what we’ve got on hand and grab the perfect portion easily. (This can be a great way to store some of these healthy snacks from the Dollar Tree).

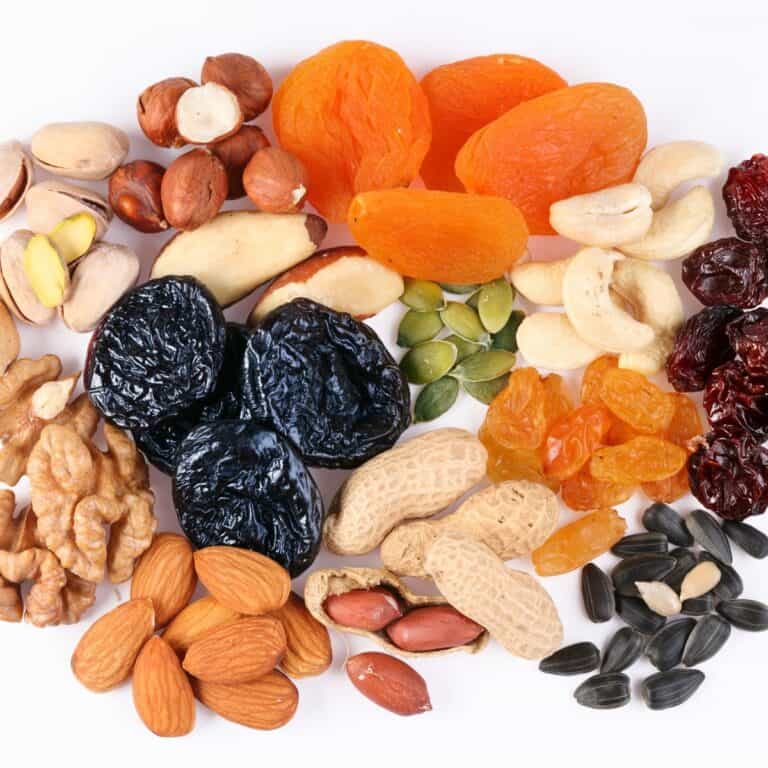
Used the glass jars for nuts (and popcorn). We use a somewhat ridiculous amount of nuts in house apparently, because we had a ton. One problem was all the bags were all shoved into the bottom part of the pantry and I couldn’t easily see what or how many we had. I transferred the ones we used most to the glass canisters on top of the pantry. Not only do I L-O-V-E the way they look, but it encourages us to snack on them more. (I also used a glass jar for popcorn kernels).

Used mason jars for dried lentils and beans. These are some of the cheapest foods available, and so great for sticking to a budget for food. But the bags always got shoved around on the shelves, and it wasn’t easy to tell exactly what was in each at quick glance. Now I can see what I have on hand, and again – it’s more visually pleasing for me.

Here’s the finished “after” photo of my pantry, which makes me so happy to look at!

Dollar Tree Pantry Organization Tips
If you want to also give your pantry a little face lift, here is a helpful step-by-step process on how to do so using Dollar Tree Items (including some additional items I didn’t use, but you may find helpful!).
Step 1: Purge your pantry.
Take everything out of your pantry. While you might think you’ve got a handle on what you have, you may be surprised when it’s all out on a table together.
First, check if anything is too far expired for your comfort level. Know that most expiration dates are for quality rather than food safety (in fact, the only food safety expiration date is for infant formula). For example, a box of cake mix that’s a month “expired” is almost certainly still fine to eat.
That said, you may have things in your pantry that are a few years past their prime, and in these cases, it may be a good idea to toss them. If you haven’t used them by now and they’re that far gone, it’s likely you won’t use them and the quality has probably deteriorated significantly.
There may also be items in the pantry that aren’t expired, but that have been hanging around for a while. Make it a priority to figure out what to do with these.
For example, we generally prefer frozen or fresh veggies over canned. As such, I’ve had a can of carrots hanging around my pantry for about two years. Out of sight, out of mind, you know?!
When I cleaned out my pantry, seeing it was a good reminder that I should use it, so we made a carrot mac and cheese with it that week.
Jot down some of the items that you want to make sure you use up this month.
Once you see everything out, it’s smart to put “like with like”. For example, put all your nuts together in one area of the table, all your canned goods in another area, etc.
This process will help you to get an idea of what types of organization products you might need. Which leads us to the next step…
Step 2: Buy Dollar Tree Products to help you organize.
Admittedly, not everyone will want to do this step after purging the pantry, so I understand if you want to flip flop the steps. It is helpful to remove all your items first, though, because it can help give you an idea of what types of storage solutions you need.
Here are some products from Dollar Tree that might be helpful for organizing your pantry:
- Plastic drawer organizers – These can be used for storing snacks. Larger bins might also be used for corralling similar categories – like a bin for pastas or a bin for baking mixes.
- Glass canisters – Dollar Tree sells both large glass canisters and medium sized glass canisters. We used ours for nuts and popcorn, but other uses might be rice, quinoa, flour, etc. (I prefer glass over plastic for direct food storage for health reasons, but there are also a lot of plastic canister products available too, like these large canisters or these oval dry food containers).
- Glass jars – Standard size glass mason jars might be used for beans and lentils, while smaller glass jars might be good for spices.
- Soda can organizer – Not just for sodas, you can also use these to organize canned goods in your pantry too.
- Wire cabinet shelves – These can be great for helping expand storage vertically on one shelf. You can store things below the wire rack and on top of the wire rack.
- Wire trays – Another option for keeping certain foods together in your pantry.
There are lots of other creative options you can use too. Set a budget, spend some time browsing your store, and have fun picking out what fits your style!
Step 3: Reorganize the pantry.
At this point, you’ve gotten rid of the pantry items that you no longer want and you’ve got your storage solutions. Now the only thing left to do is reorganize!
You should have everything grouped in similar categories at this point, and you can start to use the products you purchased.
As you place things in jars or bins, you’ll also want to decide how to rearrange the pantry as you place things back inside it. There’s no one “right” or “wrong” way to do this. Sort in a way that makes sense for you.
In the pantry itself, we organized as follows:
- On top of the cabinet – Chips and nuts
- First shelf – Snacks, dried fruit, oatmeal
- Second shelf – Pasta, quinoa, rice, vinegars, sauces, syrups
- Third shelf – Soups, beans, lentils, veggies, canned fish, bread crumbs
- Fourth shelf – Nut butters, overstock of nuts, canned fruits, anything random
You’ve probably noticed that there are no baking supplies in my pantry cabinet, and that’s because I keep all my baking stuff – flours, sugar, leavening agents, chocolate chips, etc – in a separate cabinet in my kitchen, right above my stand mixer. I bake a lot, so it make sense functionally for me to have things there.
That’s just the way I organize though. You should create a system that works for you based on the amount of space you have and what is functional for your family.
Final Thoughts
Now that you’ve got the tips and tricks to organize your pantry like a pro, it’s time to get to work. With just $10-$20, you can buy some great Dollar Tree products to help you achieve that picture-perfect pantry you’ve been hoping for. You’ve got this!
PS – Love the Dollar Tree? Be sure to check out our Dollar Tree meal plan and our Dollar Tree stocking stuffer posts!


